Have you ever picked up an acrylic photo ornament and thought about how it was made? If you are a small business owner who wants to create and offer a new product to your customers, or a vendor who wants to create a photo ornament as a corporate gift, or even if you are a budding entrepreneur trying to figure out how to make an acrylic photo ornament, the process combines a bit of creative manufacturing and a lot of technical manufacturing to create a magical piece of art from a digital photo.
Creating a photo ornament involves much more than “crafting” an ornament from a piece of acrylic. There are multiple processes involved, including the selection of appropriate materials, the design, the adaptation to the design, the fabrication, the finishing, and the most important part, the creation of a process to bring all the elements together into one unified system to ensure that the cherished photo is transformed into a piece of art that can be cherished for years to come, and not just a piece of art that can be cherished for years to come. This guide is intended to provide an overview of the invaluable elements involved in the creation of a photo ornament.
To get started with your acrylic photo ornament, the first thing you need is a great design and the right materials. Starting with good planning and preparation will give you your best chance of success.
To begin this process, you will need to gather the photo or artwork you wish to use. The image file must be high resolution to ensure that the final product looks good. The design team of your professional manufacturer will make crop, resolution, and color corrections so your image looks fantastic. This step is extremely important because acrylic is very clear and will show every detail of the image. They will also be able to tell you which ornament shape and size will work best for you. A classic rectangular block? A modern freeform shape? Or a design with multiple layered elements?
Equally Important is Selecting the Acrylic Plastics. Not All Acrylic Plastics Are the Same. An example of good practice is to use acrylic plastic sheets from a manufacturer that is criminally responsible, and SGS certified. This will guarantee to you the clarity, consistency, and safety of the acrylic sheets, and should meet strict international guidelines (i.e. ROHS, REACH). The Thickness of the acrylic adds to its Luxurious and substantial feel and that is an important choice. Discussing variety and choice of acrylic sheets with manufacturing partners and distributors is a good practice.
This is where the magic of your materials and design takes place. A good professional factory uses a great combination of skillful handcrafting and a battery of special purpose computers and technology.
The first step in manufacturing is cutting acrylic to the exact dimensions of your design. This is accomplished using a computer controlled cutting machine to ascertain the accurate dimensions of each develop piece. Precision is extremely important and is non negotiable in the final transparent product.
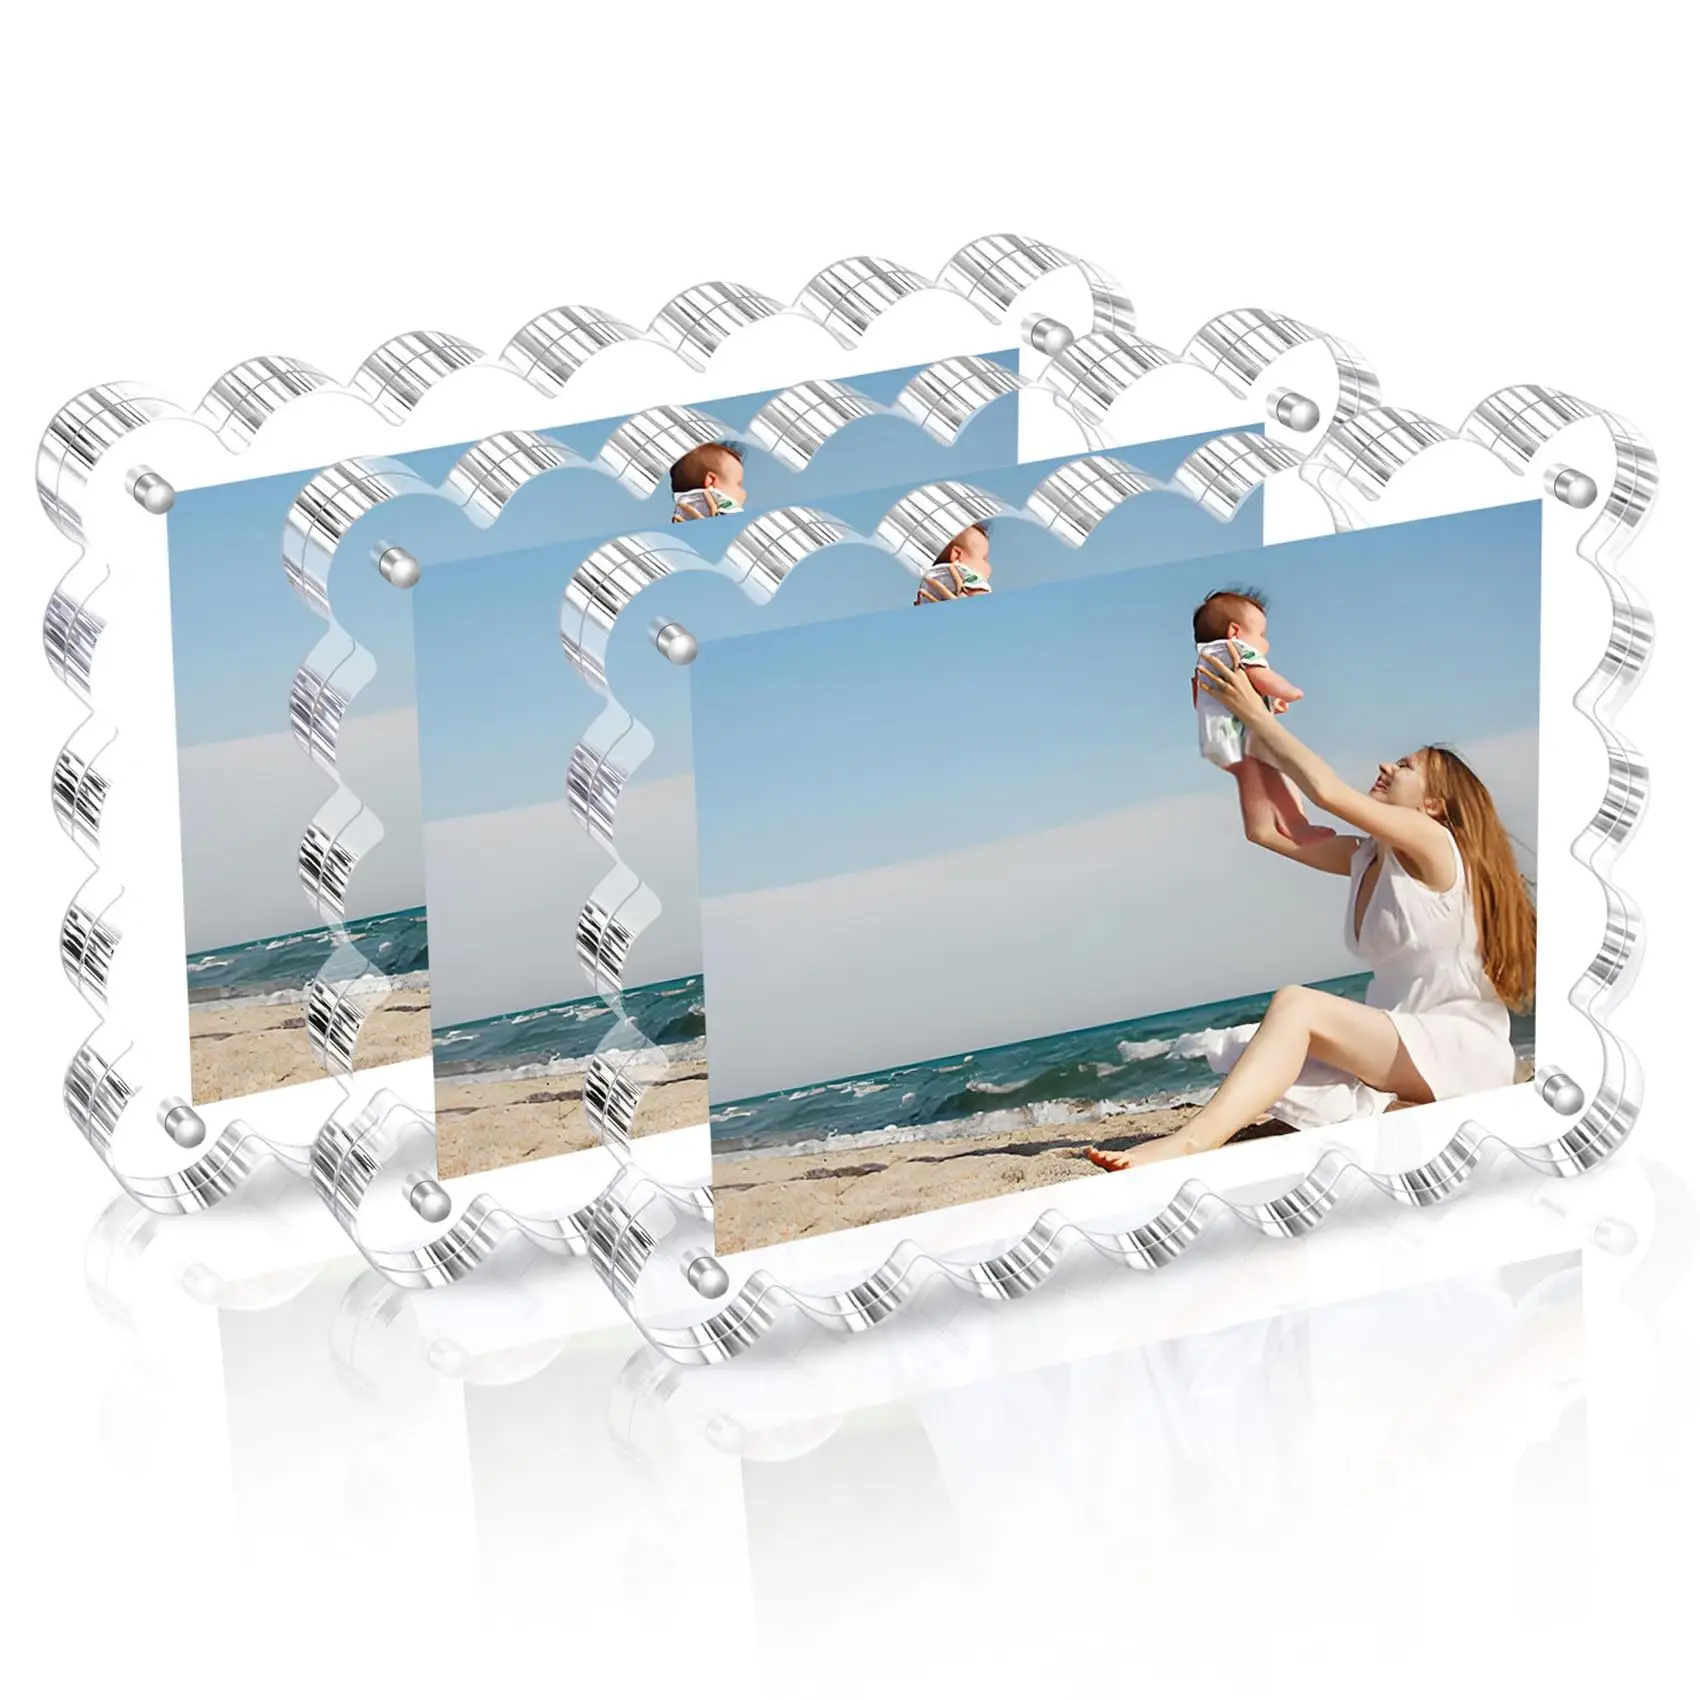
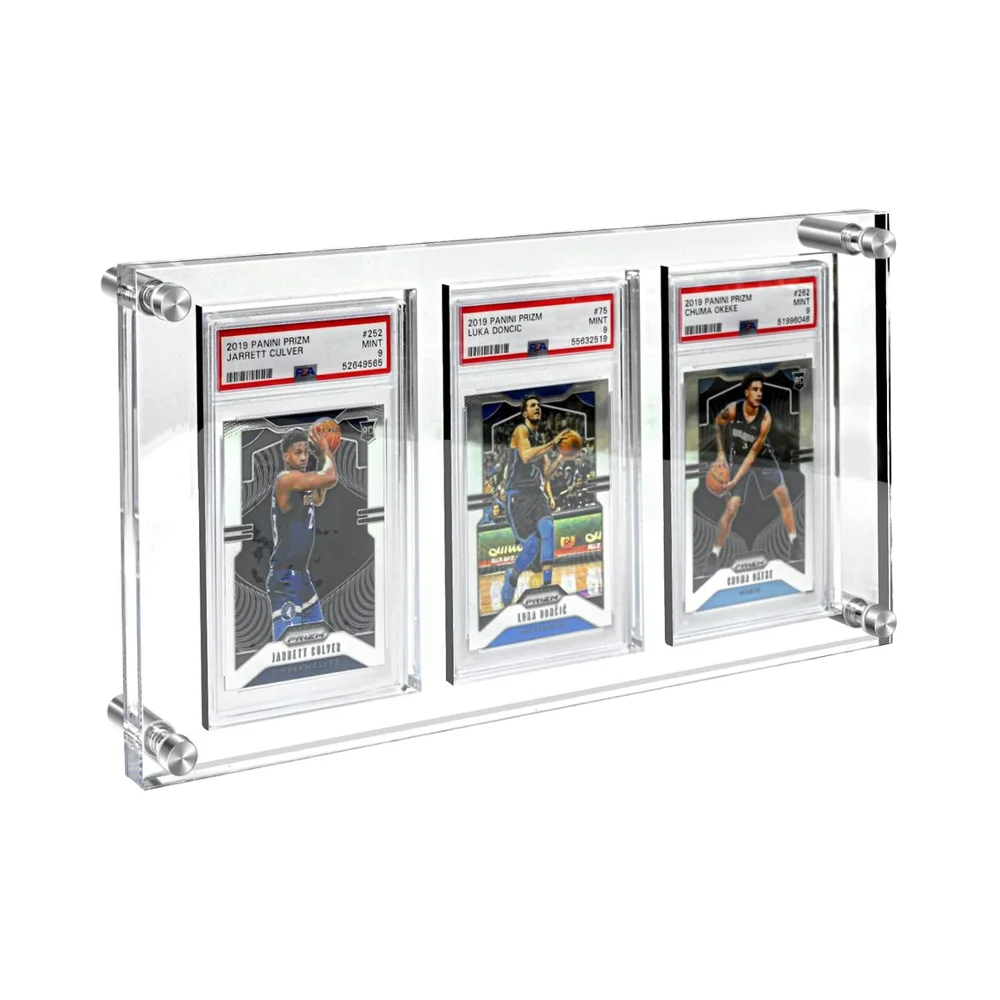
The next step is applying your image, which is where two main professional techniques come into play. One is a high-quality UV direct print on the surface of the acrylic. This allows the image to be printed in full color, photograph quality, and the colors will be vibrant and resistant to fading. The other is more common, and popular for the classic “photo block” look. This involves printing the image on a separate medium, like high gloss photo paper or film, and once bonded to the back of a thick clear acrylic block, it cannot be undone. The image then has a stunning depth so it looks like the image is suspended in the clear material. The manufacturer’s experience will determine which technique is best for your particular design and desired outcome.
Once the printing and the bonding is done, the ornament is ready for the finishing step. This is the step that turns the ornament into a truly professional looking product and not just a printed ornament.
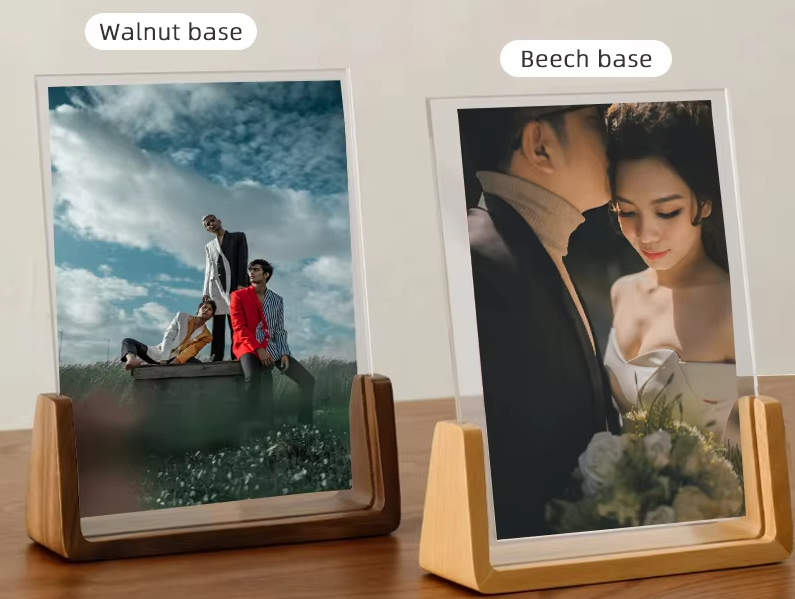
The acrylic edges are polished. Depending on design, this can create different finishes: either a clear glass-like finish, or a smooth frosted look. Polishing removes machining marks and gives the ornaments a smooth tactile feel. This part of the process also involves the alignment and bonding of the different ornament parts, such as the photo sandwiched between two acrylic layers, or the stand attached to a block.
Constructive and clear bonding of layers is done by professionals using particular adhesives. This is done in a dust free environment to ensure no particulates are trapped within the layers, and to ensure perfect alignment of the layers. At this stage of production, any additional design elements, such as easel backs for tabletop display or hooks for wall hanging, are attached. A quality control check takes the product to a premium level. Each ornament is inspected to ensure clarity, finish, edge quality, and print quality prior to approval for packaging.
The first acrylic photo ornaments teach how important it is to partner with expert professionals. An example is an industry partner that has almost 20 years of experience. They don't just operate machines. They offer their services to help guide your project to success. They begin with consultation. They explain to you how a skilled design and a sampling team can help turn your initial idea into a good tangible product. This offer is a sample that is tangible. They will do their best to produce the sample in 72 hours. This give you the ability to see and touch the prototype before you go into full production. This can end up saving you a lot of time and costs. They are also masters in the production chain. This means they are good in sourcing and even operate advanced 50 machines. This also means they are good with even scaled production. They are also committed and certified to the processes. Meaning you can trust this to be true. They have the BSCI, which means you can trust this to be true. For businesses, this means reliable partnerships that result in on-time deliveries, and you can offer the acrylic photo ornaments to your customers.
Making an acrylic photo ornament requires a mix of different skills. People must learn how to design photo ornaments using a specific material, and then cut and print photo ornaments before finishing and assembling everything. This requires a high level of skill.
Even if they learn the proper steps, they should not try to DIY production to meet a commercial standard. Instead, people should use a manufacturer. This will allow people to utilize the manufacturer’s knowledge of craft and materials, technology, and time management. This way, the customers will only have to provide the photos, and the manufacturer will provide the production. In the end, customers will get high quality ornaments.
 Hot News
Copyright © 2025 by Wenzhou XYBP Cultural Supplies Co., Ltd. - Privacy policy