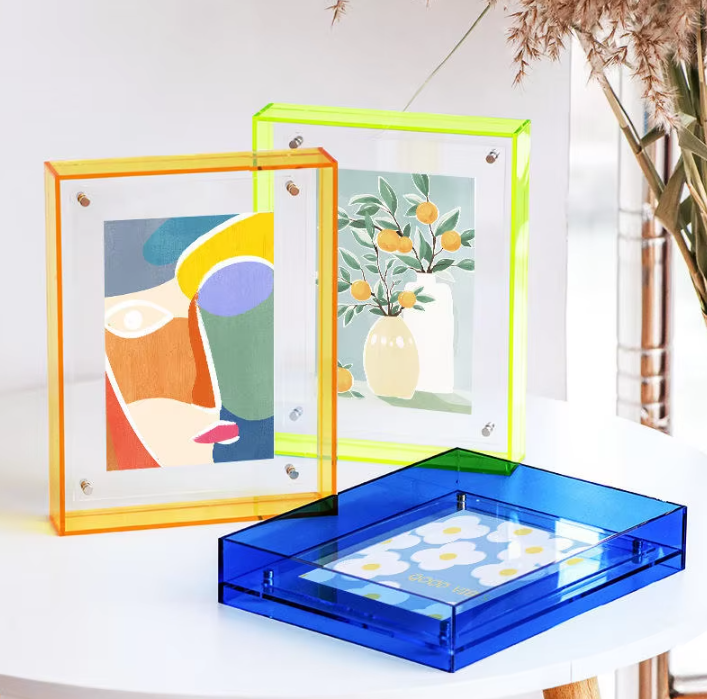
Have you seen those modern photo blocks on display and thought how cool they looked, only to assume they are overpriced? Well, the good news is they are affordable and can be made at home easily without needing a professional workshop full of tools. I have tried a few different methods myself, and I can tell you that once you get the basic techniques down, the rest comes naturally. There is a way to make an acrylic block photo frame for everyone. Some methods take very little time and are great for a last minute gift. By the end of this, you should be able to show off your favorite photos with real pride.
Your first step is to gather the items you will need for this project. The good news is that many of these things are pretty easy to find. First, pick up a clear acrylic block. Lots of people buy these at craft stores to use as stamp blocks for smaller photos. Others buy acrylic sheets and cut them down to the size they want. You will also need your printed photo. You need clear sticker paper if you are choosing the easy route. A microfiber cloth is another must have. Some people also use a pair of scissors. Now, if you want to try the two panel method, you will need two pieces of acrylic that are the same size. If you want a more professional look, you can use optically clear mounting film, but that is optional for most home DIY projects. The best part about making an acrylic block photo frame is that you can create something beautiful without spending a ton of money.
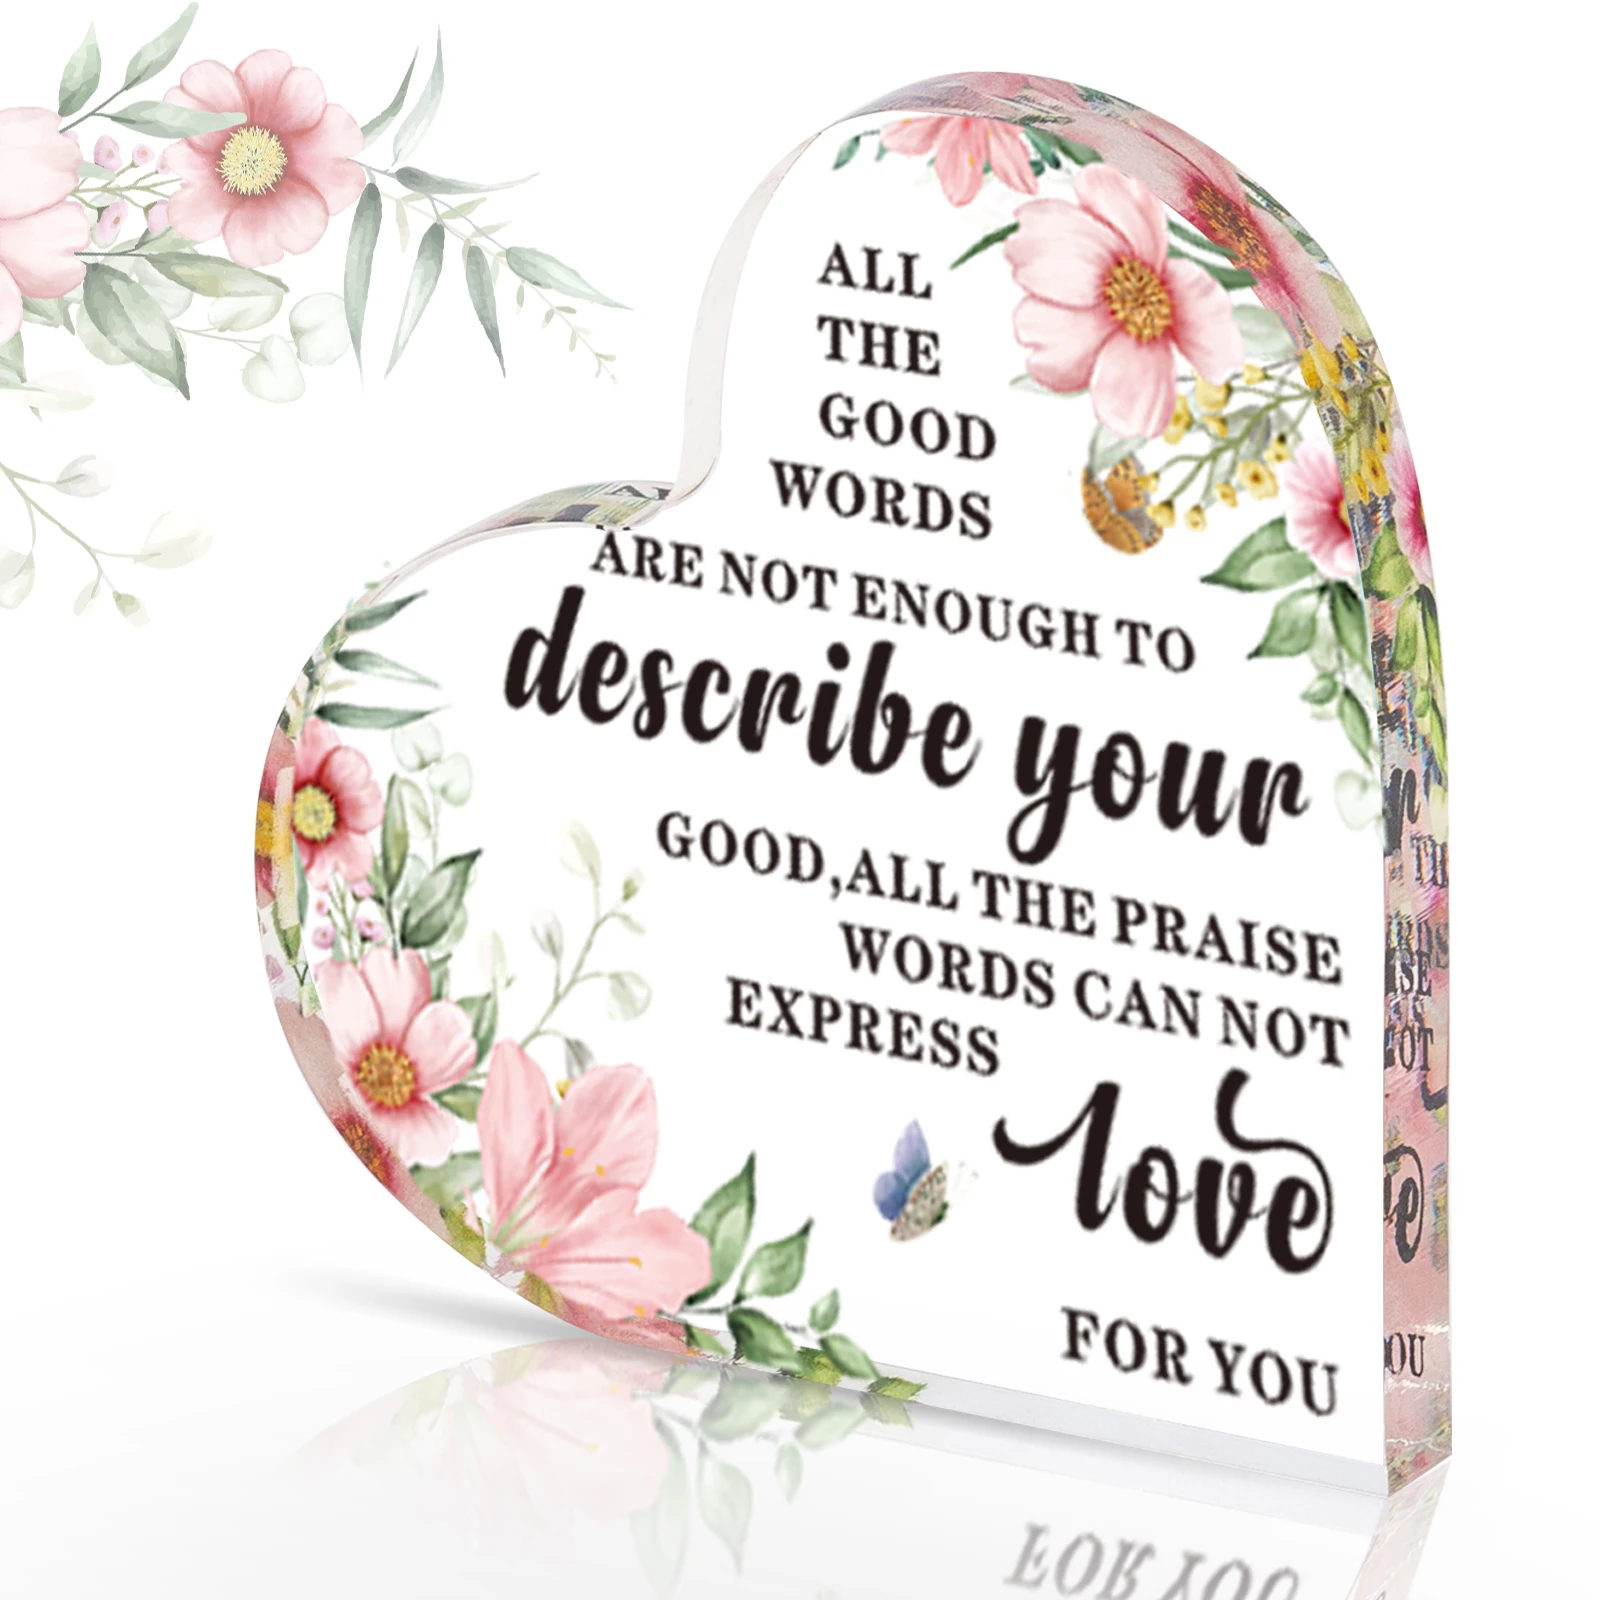
The photo you choose will be permanently displayed on the acrylic. Acrylic is really clear, so you need to be careful about dust and smudges. Avoid using pale pictures because they are harder to see. Highly contrasting colors work well and will grab the attention of anyone looking at it. When you print your photo, avoid white borders. It is also important to match the size of the acrylic block exactly. If you have a four by six acrylic block, you need a four by six photo. Trim the image so there is no extra border left. Editing pictures is a common choice because the acrylic material can sometimes make colors look a bit lighter than they actually are. Also, wipe any dust off your photo before you start. Every little speck will show through that clear surface, so a quick clean makes a big difference.
This method is by far the fastest and easiest way to make an acrylic block photo frame. If you prefer not to use glue or any complicated steps, start by printing your photo onto clear sticker paper. Be sure to print on the shiny side of the paper. Trim your photo and the sticker paper as much as you can. You do not want any excess sticker material left. Use a microfiber cloth to clean your acrylic block and get rid of dust and fingerprints. Then peel off the sticker backing so the sticky side is ready. Place the photo onto the acrylic block, sticky side down. Use a flat object like a credit card to smooth out bubbles and wrinkles. Press it down evenly and firmly. That is it. You are done. It takes about ten minutes total to make an acrylic block photo frame that you can put on your desk or shelf. It also makes a wonderful gift.
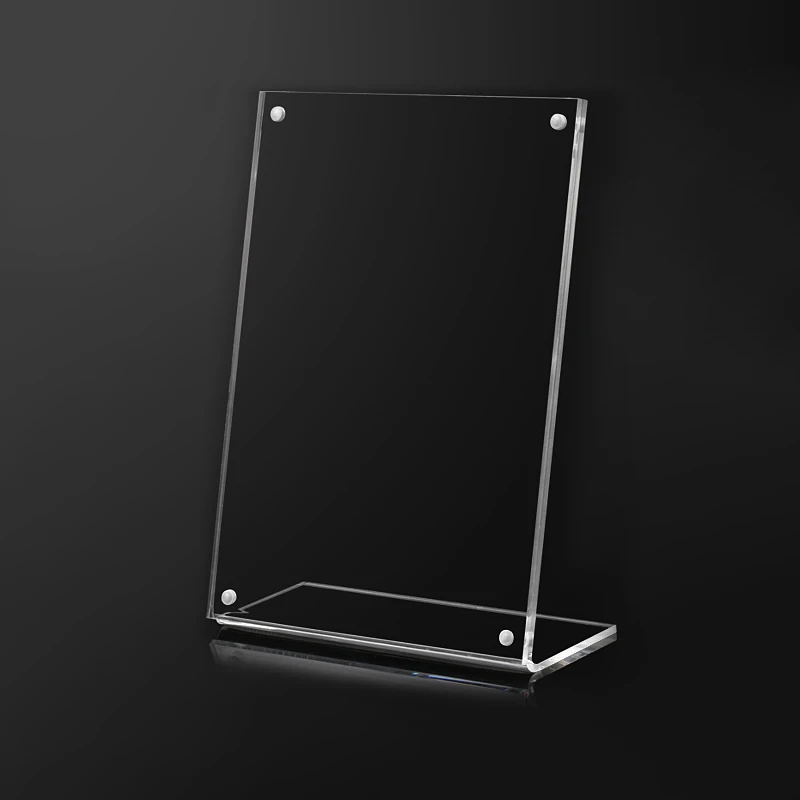
The two panel method is a great choice if you are looking for a more professional option, or if you want the flexibility to change the photo later. Using two panels means you need two clear acrylic sheets that are the same size. They can be secured with small corner magnets, standoff hardware if you plan to mount it on a wall, or some people use clear glue dots. Here is how it works. Place your photo face up on one of the acrylic sheets. Center the photo so there is a good amount of acrylic showing on all sides. Then take the other acrylic sheet and put it on top, sandwiching the photo in between. The static electricity from the acrylic should help hold everything in place. If your acrylic sheets are secured with magnetic dots, the magnets will snap together and keep the photo safe. This method is great because you can change the picture whenever you want. That means you are not stuck with one photo forever. Just separate the two panels, swap the photo, and snap them back together.
When putting together your acrylic block photo frame, it is common to get smudges or fingerprints on the surface. It is important to follow special cleaning instructions. Never use glass cleaners. They will fog up your acrylic and ruin the frame. Thankfully, cleaning acrylic is straightforward. Grab a microfiber cloth, some lukewarm water, and a mild dish soap. Dampen your cloth with the soapy water. Then wring it out so it is just damp, not dripping. Gently wipe the acrylic. Use a separate dry microfiber cloth to buff it dry. To clean off dust, just grab a dry soft cloth or a feather duster. Avoid paper towels. They are too rough and can leave tiny scratches. This simple routine will keep your acrylic block photo frame looking like new for years.
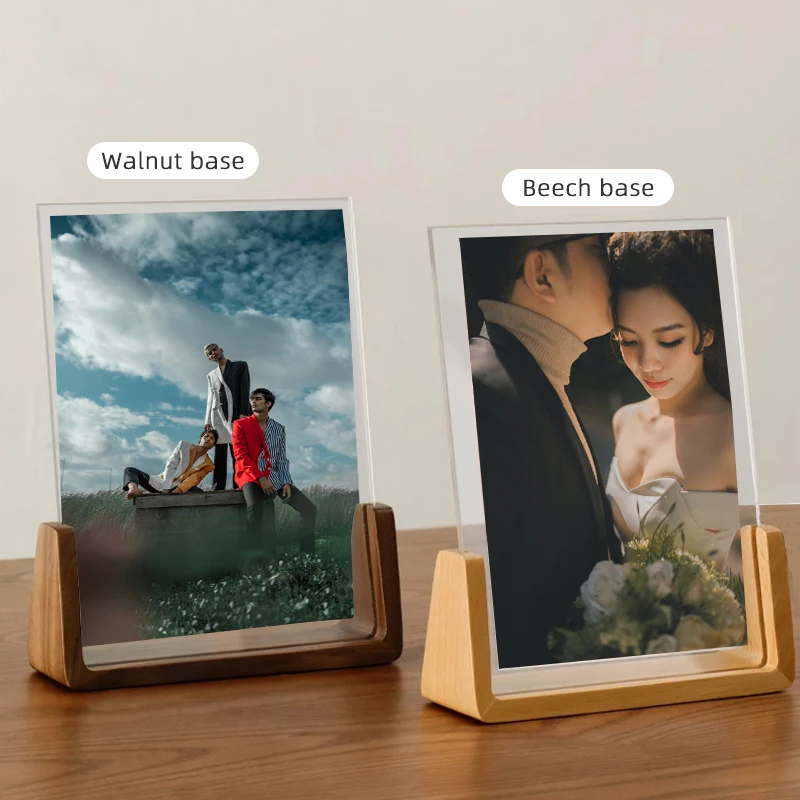
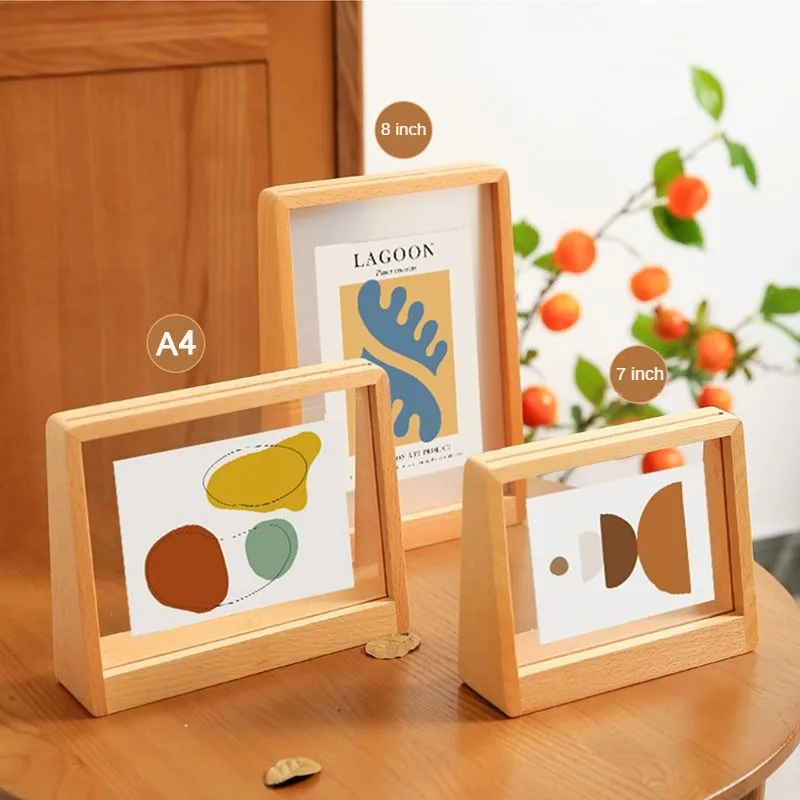
You have made an acrylic block photo frame, so now what do you do with it? These look great on desks, bookshelves, nightstands, reception counters, and more. Because of the clear material, they go especially well with plain walls or light colored backgrounds. A white or light colored wall gives a nice contrast to the photo. Try to avoid direct sunlight. Acrylic offers some UV protection, but strong sun can still fade your photo over time. You can also put several acrylic blocks on a table to create a little gallery of your favorite memories. These make wonderful presents for parents, grandparents, or anyone who enjoys family photos. Using different sizes also adds variety. Grouping different sizes of acrylic blocks on the same shelf looks really nice. Also, if you used the two panel method, you can change the photos for different seasons or occasions. One acrylic block photo frame can show your summer vacation pictures in July and your holiday family gathering in December. Pretty handy, right?
Now go ahead and try it. Find a photo you like, pick a method, and make your own acrylic block photo frame today. It is very simple to do, and the final product looks like something from a high end store.
 Hot News
Copyright © 2025 by Wenzhou XYBP Cultural Supplies Co., Ltd. - Privacy policy